Grilled Chicken with Chimichurri Sauce/ Asparagus, Broccoli, Tomato Quinoa Salad/ Rogel
This past weekend, I visited my boyfriend, Kyle, in Charlotte. He’s currently traveling in the Galapagos Islands hiking, kayaking, sightseeing, and doing all kinds of other wonderful things. If you can’t tell, I’m super jealous. And to top it all off, he’s staying in five star hotels! Typical.
Anyway, back to the main story: I visited him and stayed at his parents’ house. So to thank them (and because I love cooking), I decided to cook a meal for his entire family, including his parents and two brothers. I thought grilled chicken was a solid choice, but y’all know I can’t just stop with some plain grilled chicken. I wanted to throw a little curve ball.
On a recent date of ours, Kyle and I ate at a steakhouse in Durham, NC called Metro8 Steakhouse. It was an Argentinian steakhouse whose specialty meal was chimichurri skirt steak. We both ordered the half portion of that, and gobbled our food right up because it was delicious. After that night, I have been dying to try my hand at making my own homemade chimichurri sauce. Then I thought, what better opportunity than now!
Because all good meals are complemented with comparable sides, I prepared asparagus, broccoli, tomato quinoa salad. I kind of just came up with the quinoa salad recipe on my own by adding in a some garlic, spices, and a few of my favorite veggies. It paired perfectly with the marinated chicken and chimichurri sauce. I was more than pleased with the results.
Then I was at a loss for what to make for dessert. Kyle’s younger brother is rather picky when it comes to food and I wanted to bake something that seemed to go with the rest of the meal, so I had a hard time. When I remembered that chimichurri sauce is Argentinian, I searched for Argentinian desserts. At first, I kept seeing dulche de leche crepes, which didn’t surprise me because that’s what I ordered for dessert at Metro8. But then I saw this dessert that looked like a stack of dulche de leche crepes with meringue on top. And apparently, that’s what they call Rogel.
According to many websites, it is the most popular dessert in Argentina. Having said that, I still could not find a recipe for this darn dessert, so I studied the picture and experimented with the recipe from there. I had made crepes for breakfast on Valentines Day, so I knew how to make those and they didn’t challenge me much. I even made a super healthy kind without flour (for all you GF people out there!).
The homemade dulche de leche, however, definitely caused me trouble to say the least. Since I did not plan to make this dessert, I had to use the dairy ingredients they had in the house at the time: almond milk, skim milk, and half and half.. First, I tried almond milk with half and half until I discovered that Kyle’s brother is allergic to nuts. Then I moved on to skim milk and half and half. That’s nowhere near the worst part. Keep reading, and you’ll find out why I say that. Tragic almost, but I was eventually triumphant and have never been more proud of a dessert than I was of that. And boy was it yummy!
Grilled Chicken with Chimichurri Sauce
 |
| Ingredients for chicken marinade and chimichurri sauce |
Ingredients for chicken marinade:
- Six boneless, skinless chicken breasts
- 1/2 cup olive oil
- 1 large shallot, chopped
- 1/3 cup coarsely chopped fresh basil
- 1/3 cup coarsely chopped fresh Italian parsley
- 3 tbs chopped fresh thyme
- 3 tbs rosemary
- 2 pealed garlic cloves
Instructions for chicken marinade:
- Combine ingredients #2-#8 in a food processor
- Blend until all herbs are finely chopped
- Rub mixture on chicken
- Cover and refrigerate for at least 4 hours to overnight
 |
| Chopped herbs |
 |
| Marinade in food processor |

Ingredients for chimichurri sauce:
- 1/4 cup olive oil
- 3 tbs chopped fresh basil
- 3 tbs chopped fresh cilantro
- 3 tbs chopped fresh Italian parsley
- 1 1/2 tbs lime juice
- 1 1/2 tbs red wine vinegar
- 1 1/2 tbs crushed red pepper
- 3 minced garlic cloves
- Pinch of salt
- Pinch of cumin
Instructions for chimichurri sauce:
- Combine all ingredients in a food processor
- Blend until all herbs are finely chopped
- Adjust seasoning to taste (flavors set in after being chilled for some time, so don’t over-season)
- Cover and refrigerate for anywhere from 2-5 hours
 |
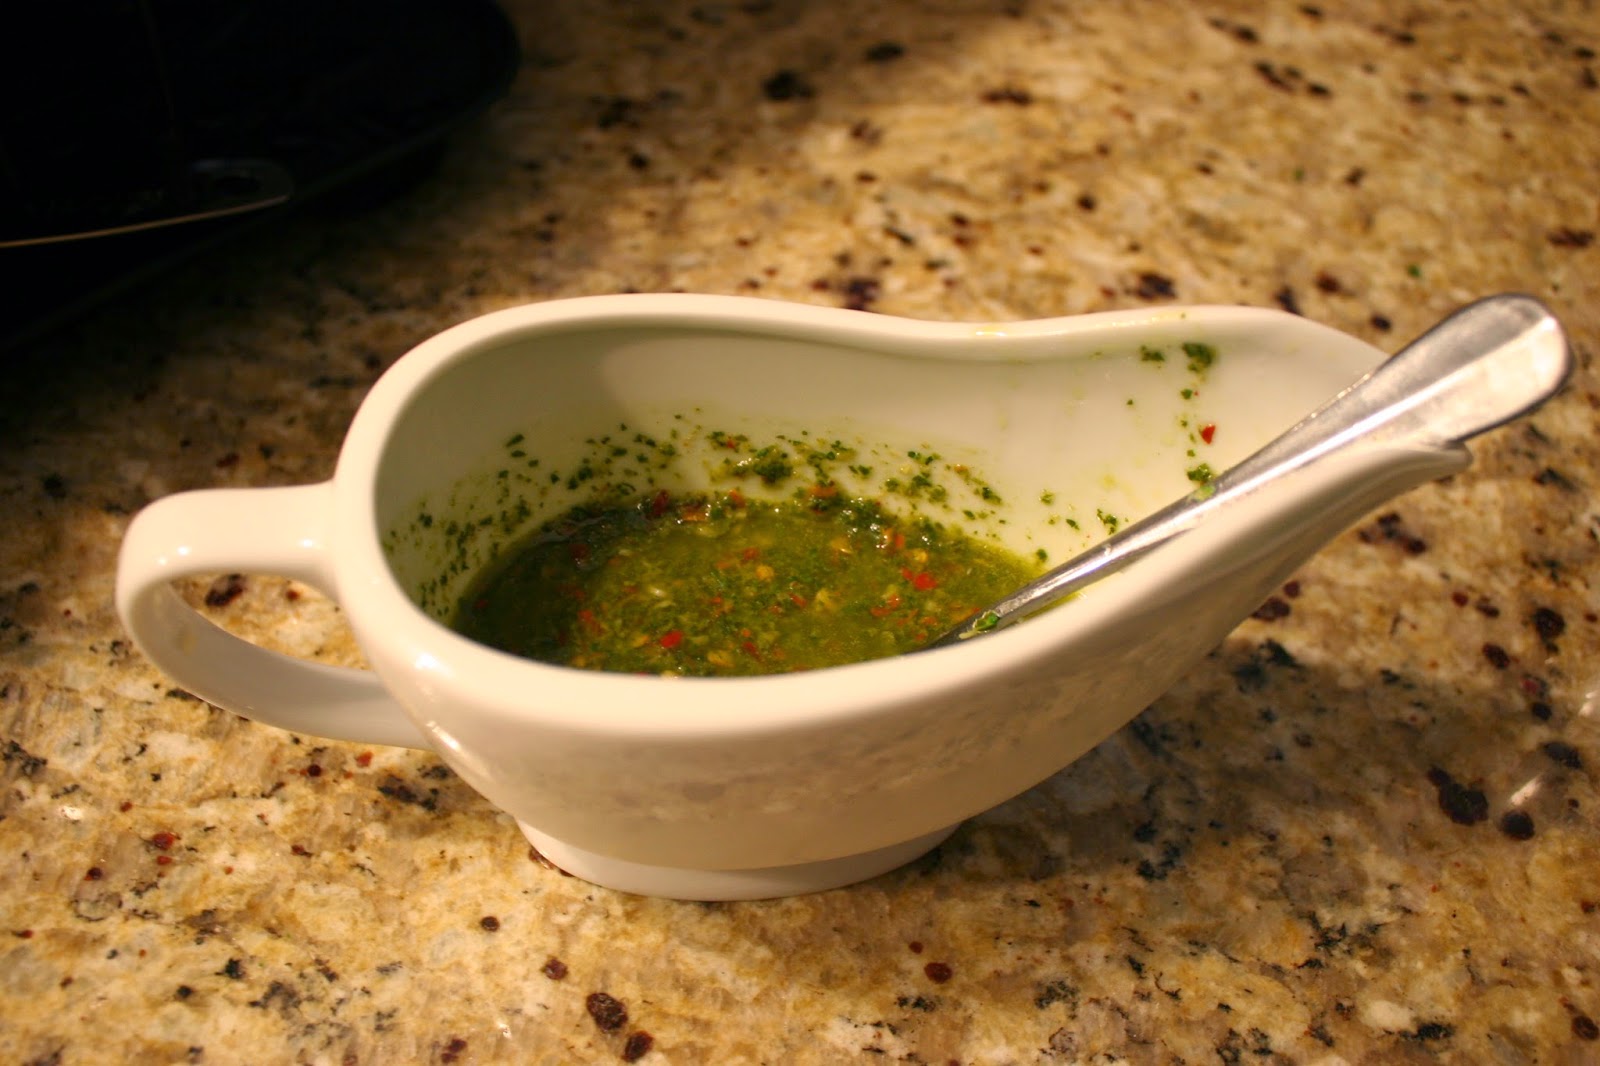
| Processed chimichurri sauce, looks similar to marinade |
 |
| Chimichurri sauce |
Instructions for grilled chicken:
- Uncover chicken
- Dispose of excess marinade, but keep some on chicken to grill
- Grill chicken until cooked through completely
- Add chimichurri sauce on top
 |
| Gotta admit, Kyle was the grill master of these tasty things |
Asparagus, Broccoli, Tomato Quinoa Salad
Ingredients for quinoa salad:
- Garlic herbed quinoa
- One bunch of asparagus
- One bag of steamable broccoli
- Cherry tomatoes
Instructions for quinoa salad:
- Cook quinoa according to instructions on package
- Drizzle asparagus with olive oil and grill until cooked yet still crunchy
- Chop cherry tomatoes in half
- Steam broccoli
- Mix all ingredients together
Plating the Meal
Plating instructions:
- Place quinoa salad in an ovular shape on plate, leaving space where the chicken will be placed
- Add chicken breasts to open area, closing any gaps
- Drizzle chimichurri sauce on chicken
- Serve!
 |
| Grilled chicken with asparagus, broccoli, tomato quinoa salad |
Rogel (Dulce de Leche Crepe Stack with Meringue)
This was literally the most stressful dessert I have ever made… I was baking for my boyfriend’s entire family and of course I messed up twice. First time, I tried using almond milk for the dulce de leche, until Kyle (re)informed me that his brother is allergic to all nuts. That batch was poured down the drain. The next batch. Well let’s just say that one went overboard. I mean, it literally boiled over onto the glass top stove. What a great impression that made. Second batch: gone. Don’t worry though because Kyle got it all on camera. Thank goodness the third time was the charm, and I finally succeeded at making homemade dulce de leche. [Cue the applause]
Ingredients for rogel:
- 1 cup skim milk
- 1/4 cup half and half
- 3/4 cups brown sugar
- 1/2 cup granulated sugar
- 2 bananas
- 2 whole eggs
- 1 egg white
- Drop of lemon juice
- 2 tbs granulated sugar (for meringue)
- Cinnamon
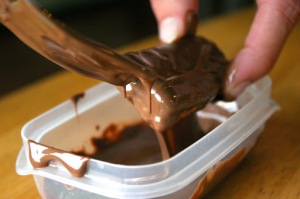
Instructions for dulce de leche for rogel:
- Combine milk, half and half, brown sugar, and 1/2 cup granulated sugar to deep sauce pan
- Cook on medium heat, constantly stirring with a wooden spoon
- Keep stirring until mixture thickens (could take over a half an hour)
 |
| My reaction to Kyle telling me his brother is allergic to nuts |
 |
| Second batch, looking good so far… when I was actually keeping an eye on it |
 |
| Second batch overflowing. The following pictures say it all. |
 |
| You can actually watch the steam rise if you scroll through fast enough |
 |
| Do you think he could help? Nah, just hands me paper towels and continues to snap photos |
 |
| Third (AND FINAL) batch of dulche de leche. Never again. |
 |
| Just a tad bit overwhelmed at this point |
 |
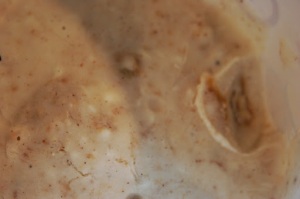
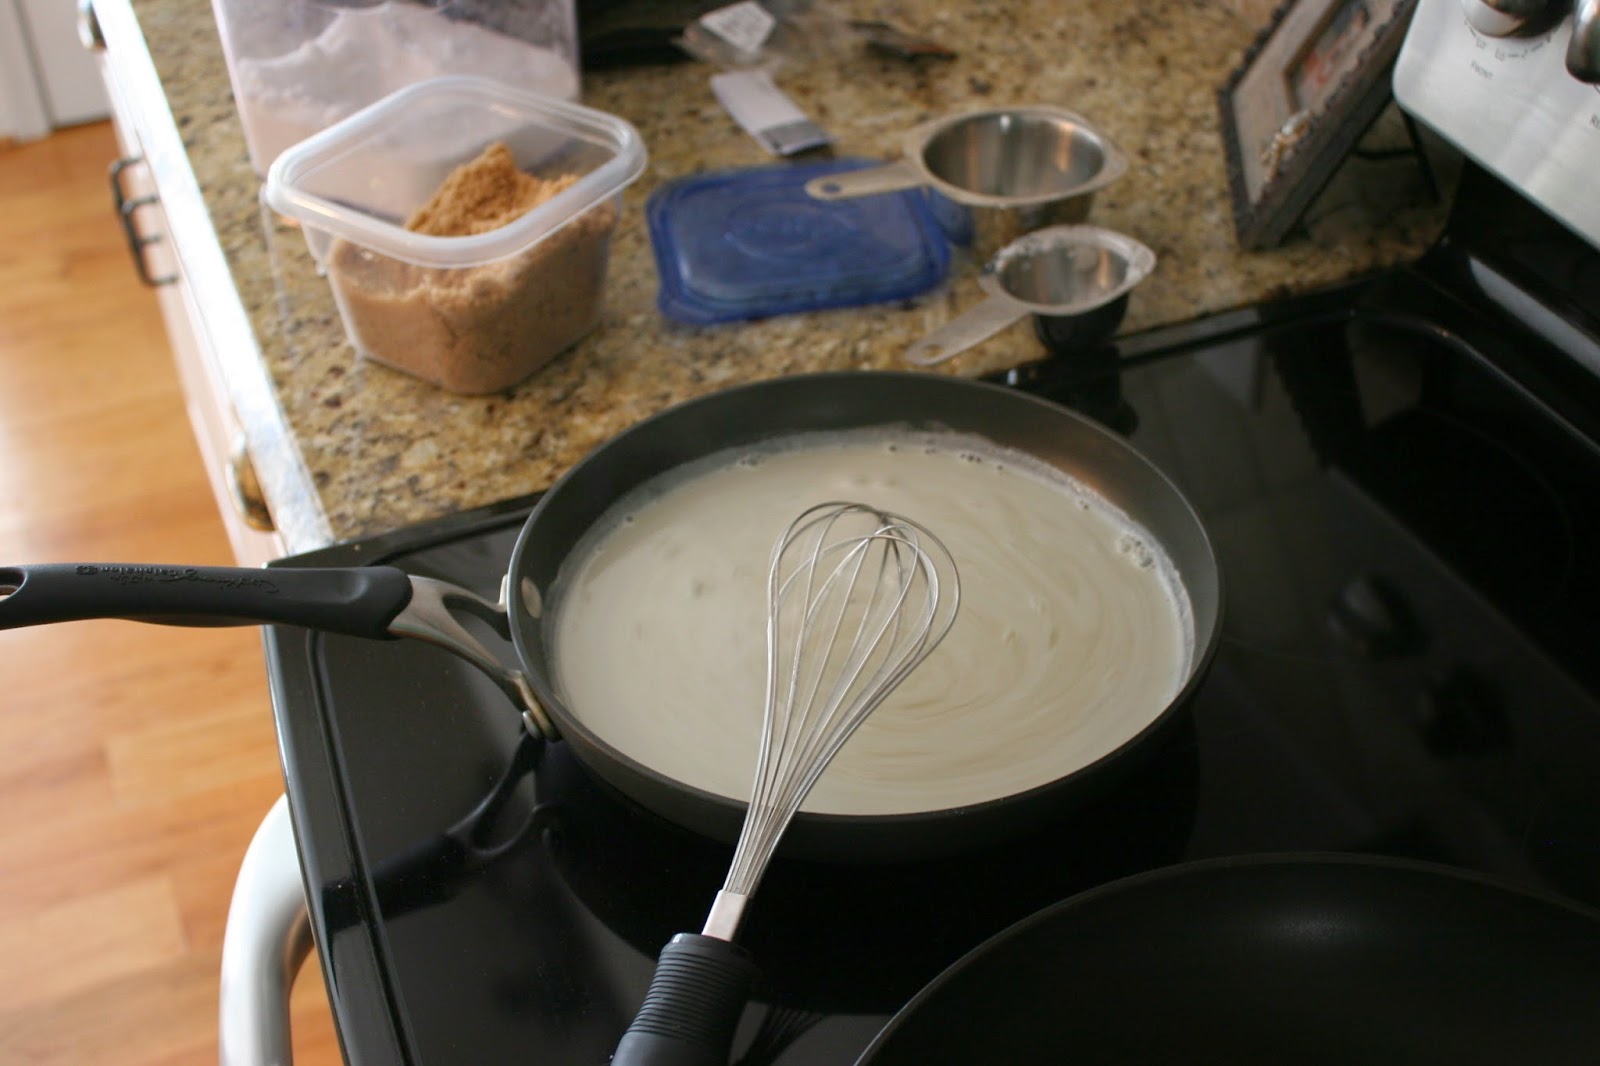
| YAY!! It worked. It’s actually caramelizing.
|
Instructions for crepes for rogel:
- Mix bananas, whole eggs, and a dash of cinnamon with hand mixer until smooth in a medium/large bowl (crepe)
- Spray another pan
- Turn burner on low to medium heat
- Add crepe mixture to pan in one small circle
- Tilt crepe pan in a circular motion to spread crepe mixture
- Let crepe cook through almost all the way, use a baking spatula to flip crepe
- Let cook for another minute (give or take)
- Remove from pan and let cool on a plate
- Repeat until 5 or more crepes are made
 |
| 1:1 ratio of bananas to eggs for easy, healthy crepes |
 |
| I usually mash bananas and eggs with fork before using mixer |
 |
| Place batter in small circle in pan. Then rotate pan and allow gravity to spread batter. See pictures below |
 |
| Bubbles in fluffy crepes, ready to flip |
 |
| Carefully flip crepes with baking spatula |
 |
| Allow crepes to cool on plate |
Instructions for meringue for rogel:
- Separate egg, discard of yolk
- Beat egg with hand mixer on high
- Add sugar slowly while still mixing
- Drop in lemon juice
- Allow egg whites to stiffen to firm peaks
Instructions for putting the whole rogel together:
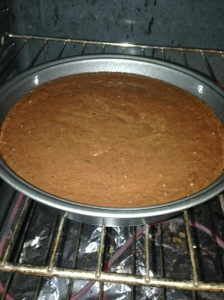
- Preheat oven to 350 degrees
- Place one crepe on oven-safe dish
- Add dulche de leche to just cover the crepe, can spread using baking spatula, be careful not to rip the delicate crepes
- Layer another crepe on top
- Continue layer dulche de leche, crepe, etc. until all the crepes are used
- Place one final layer of dulche de leche on top of crepe stack
- Dash some cinnamon on top
- Carefully place beaten egg whites on top, creating peaks with a fork
- Cover top layer with meringue peaks
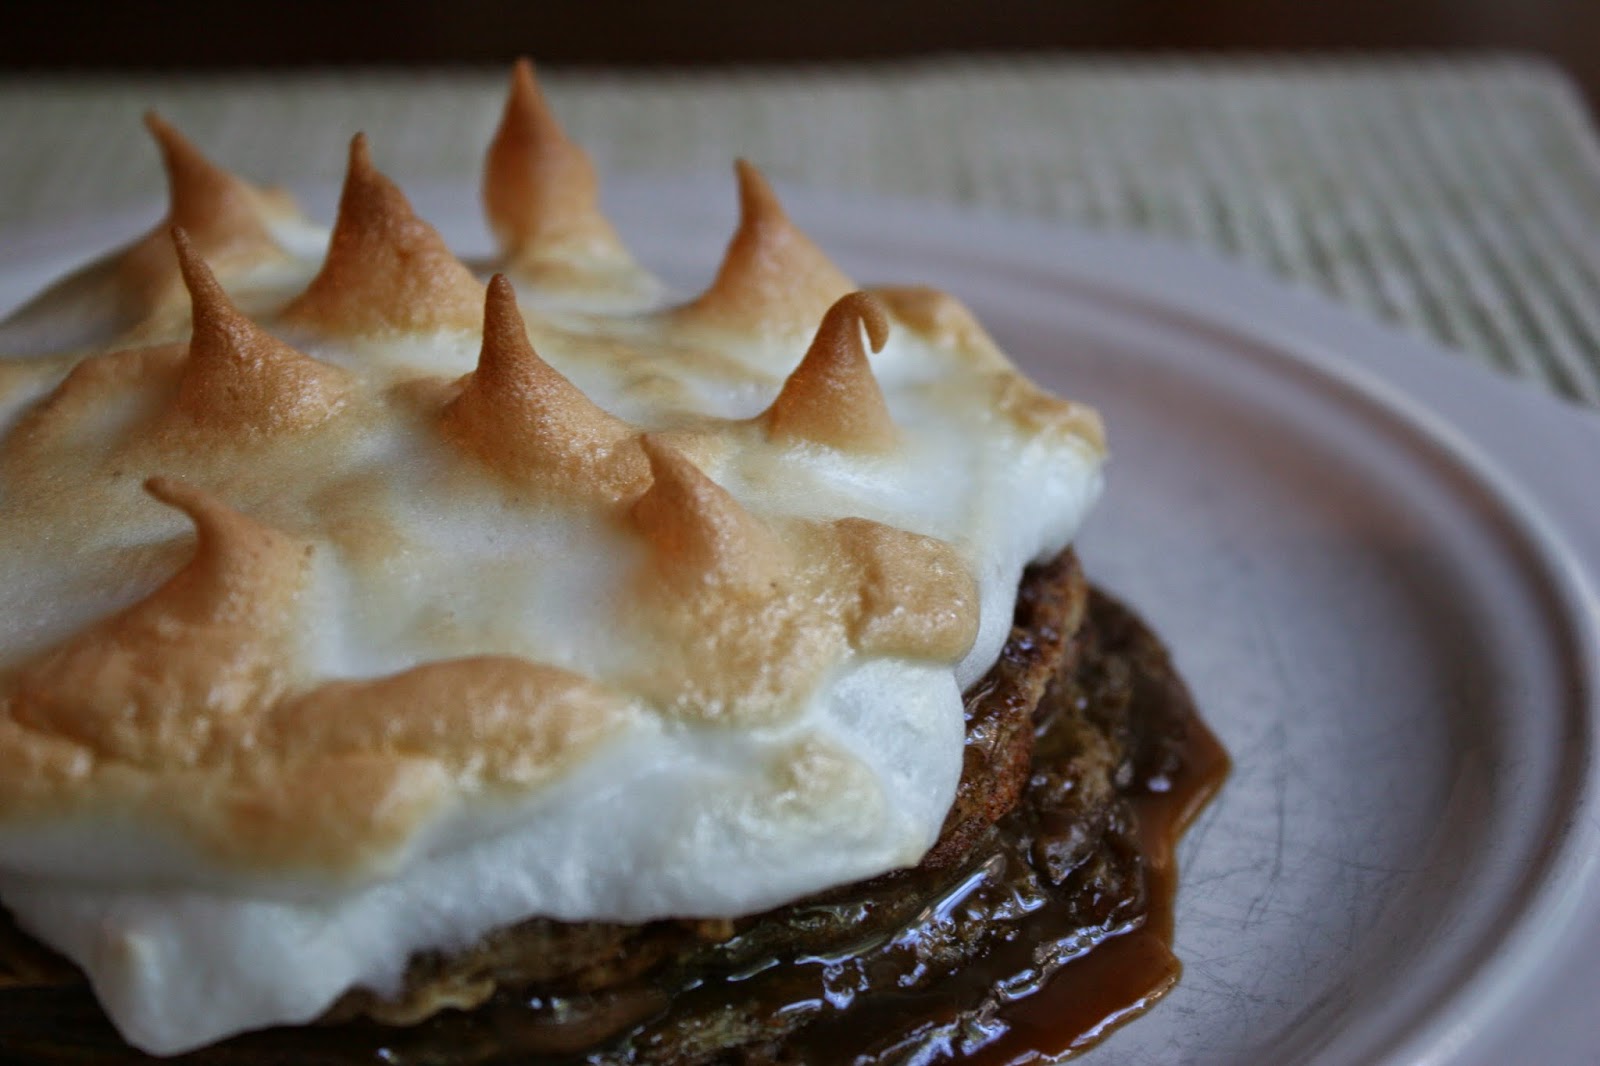
- Bake rogel in oven for approximately 10 minutes or until meringue peaks turn a slight brown color
- Remove from oven, let cool for a couple of minutes, and transfer to clean plate for serving
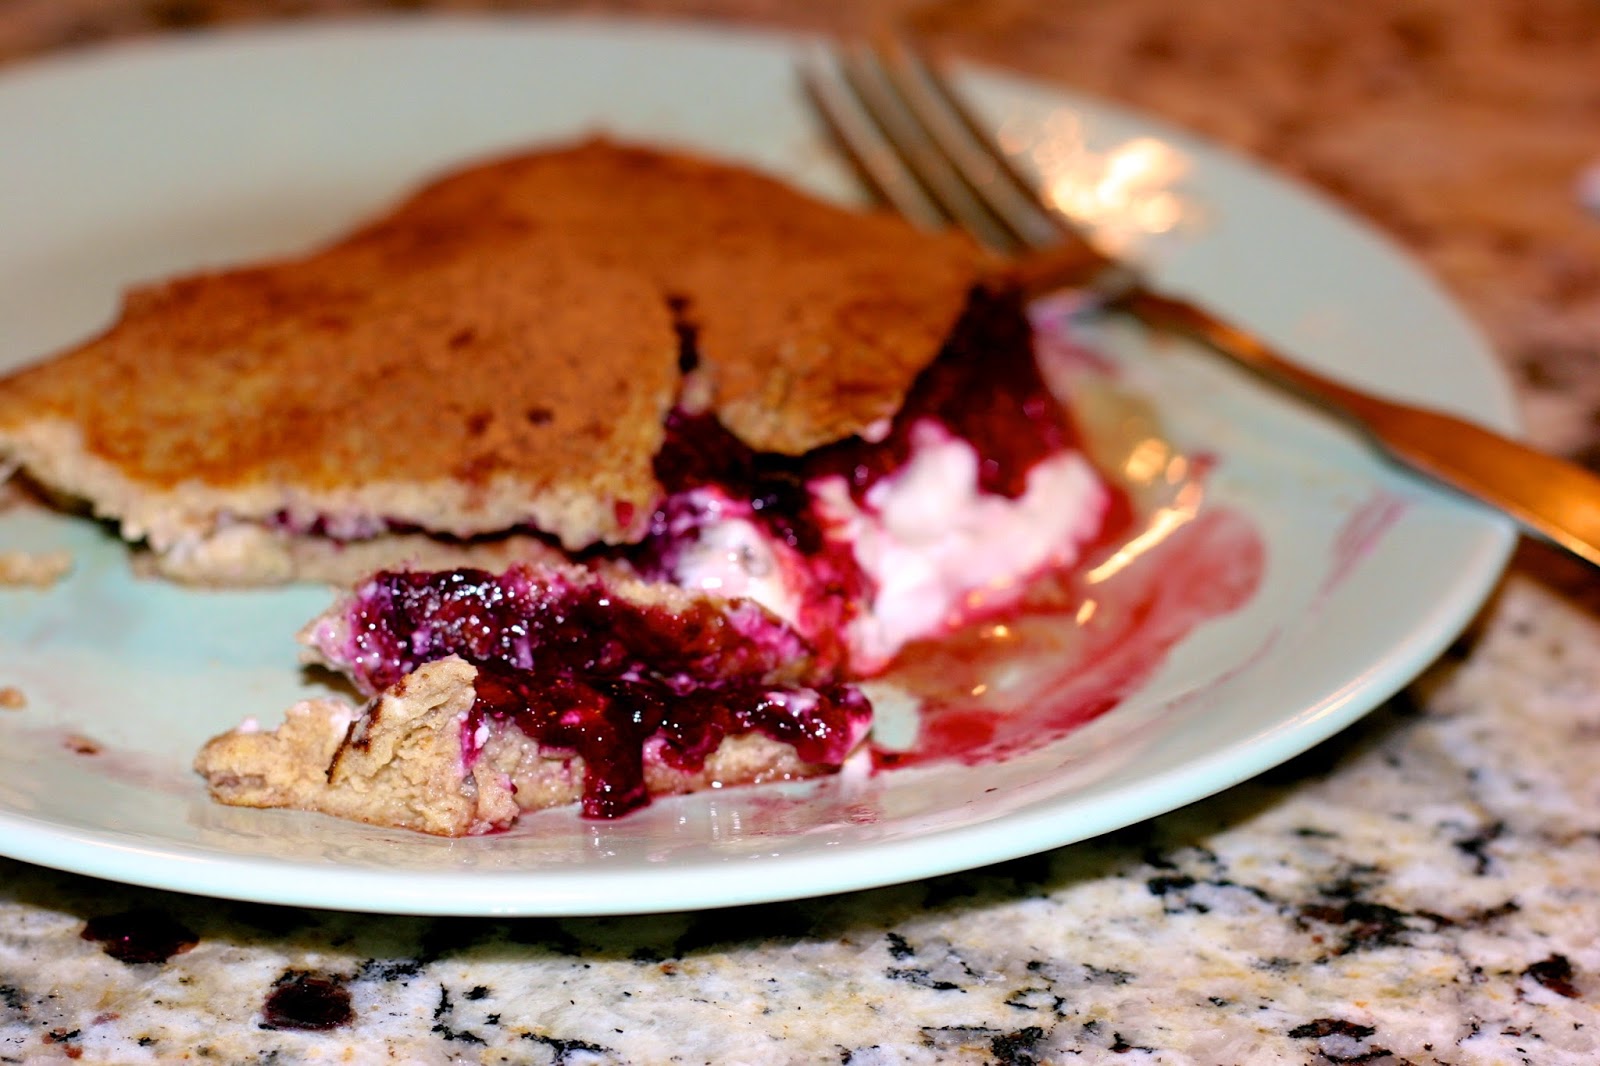
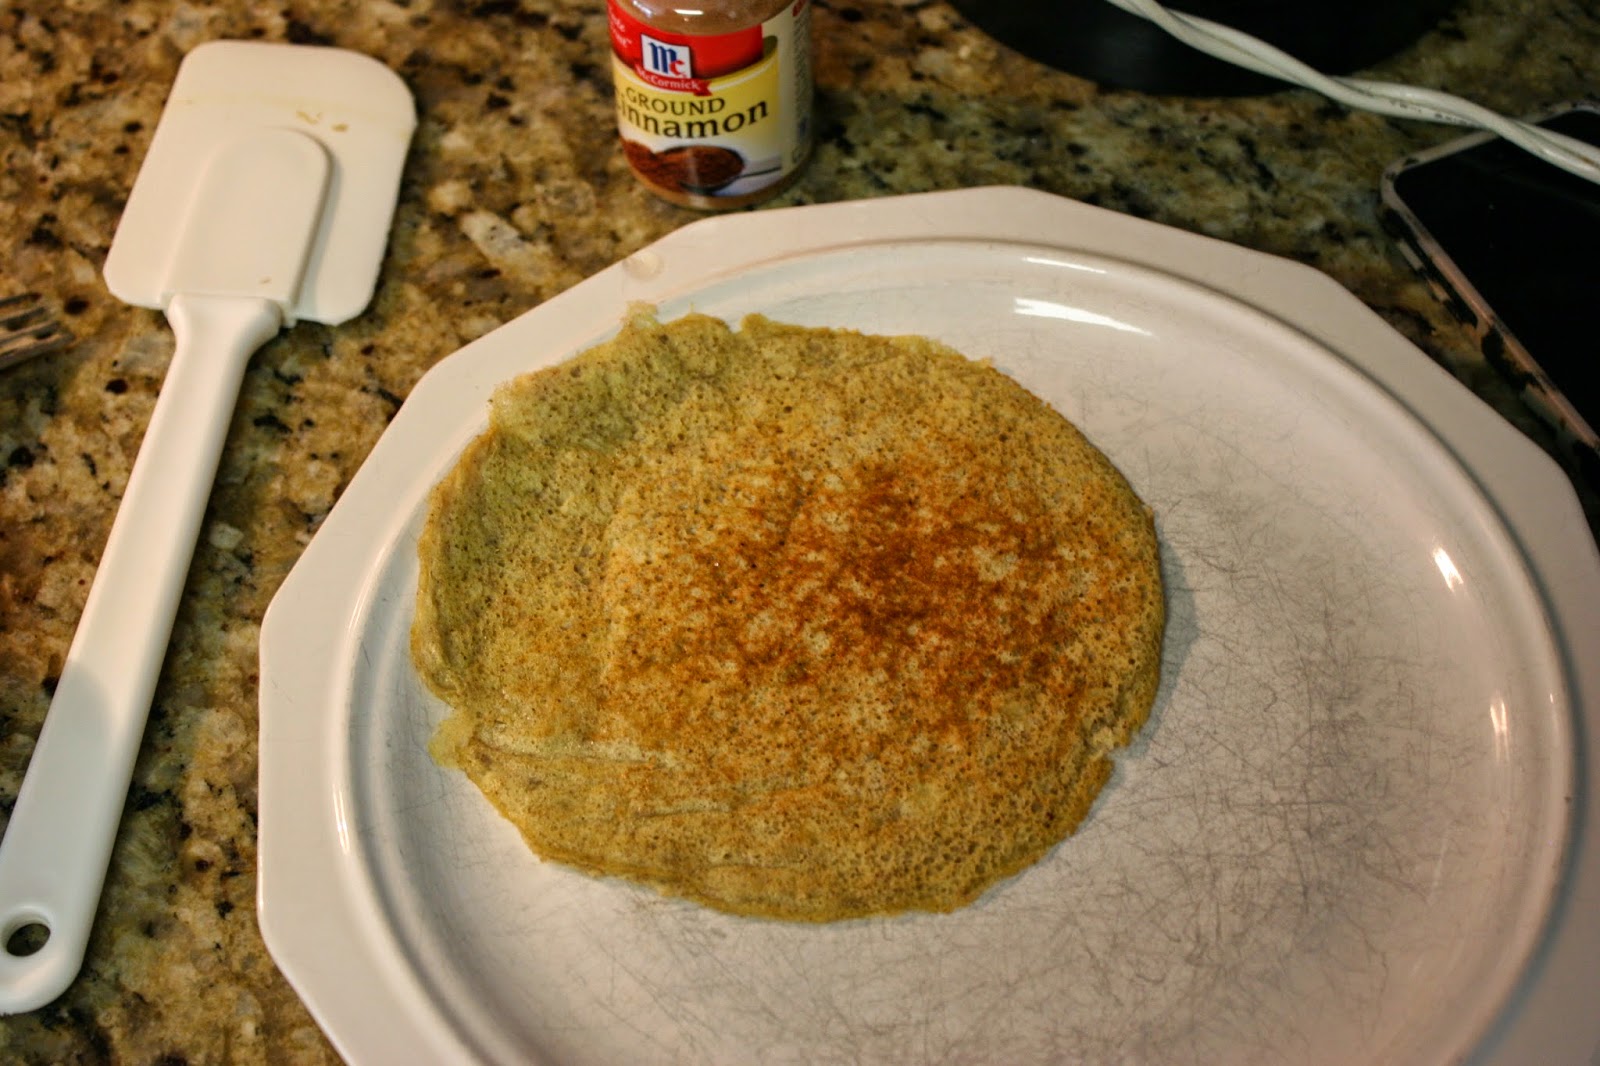
 |
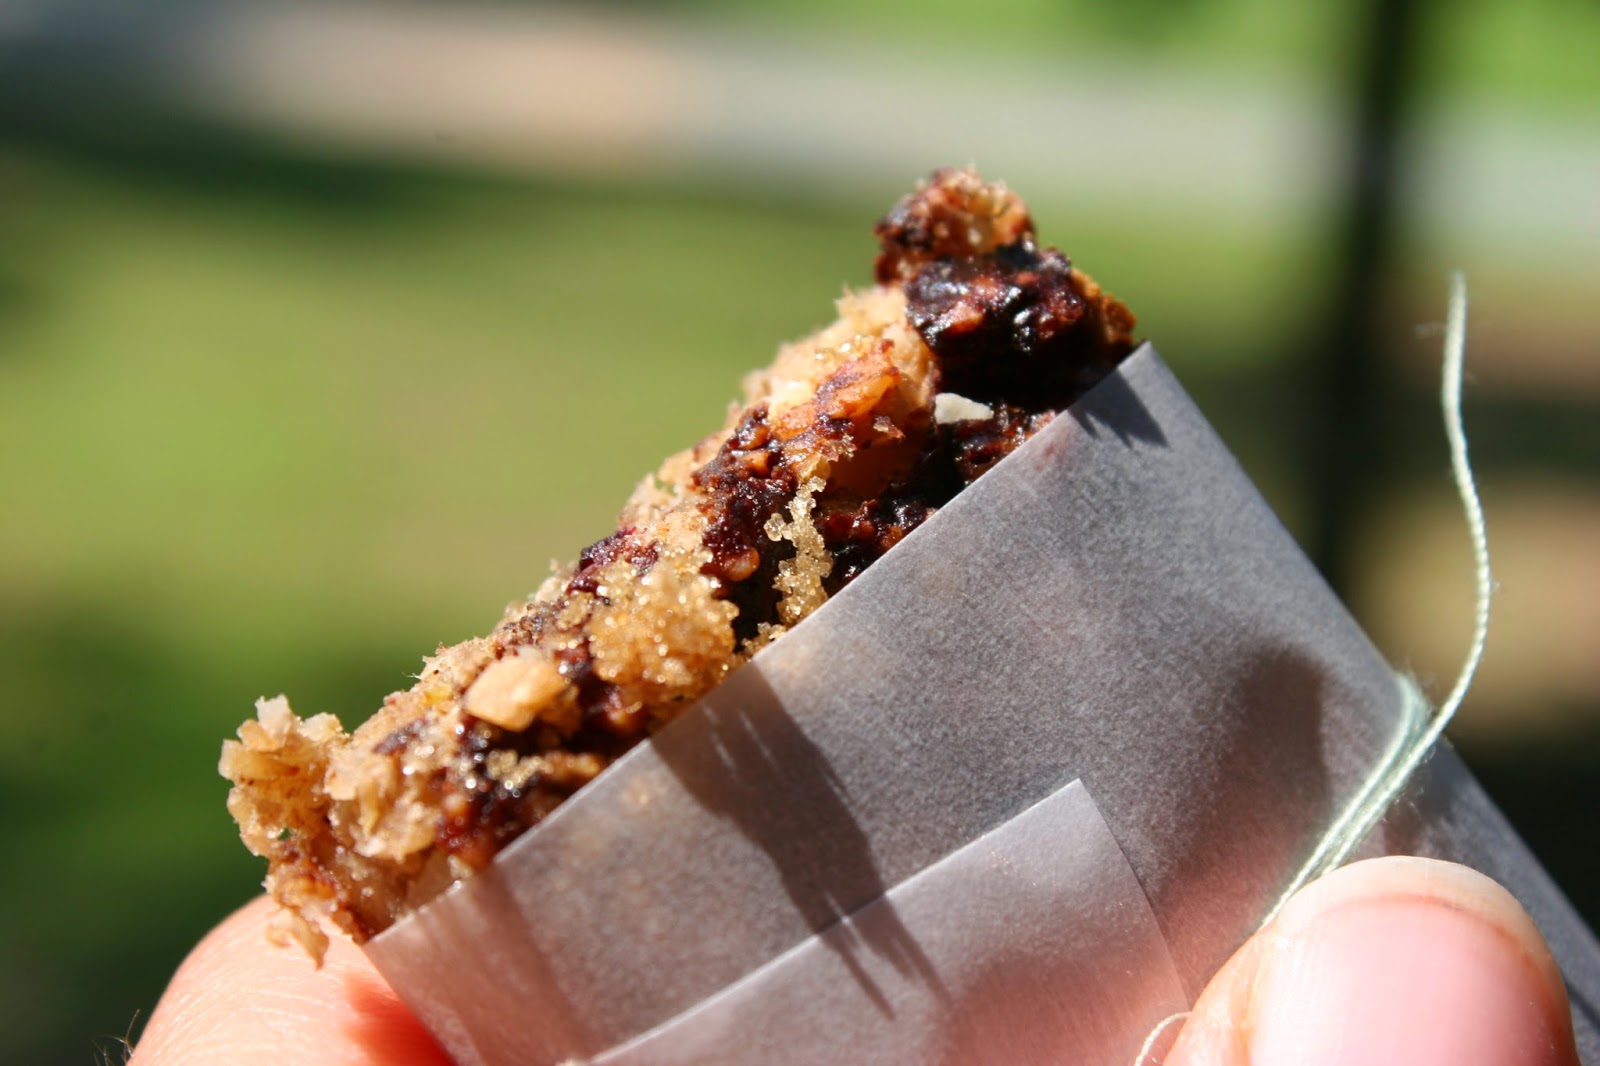
| Crepe stack with cinnamon on top |
 |
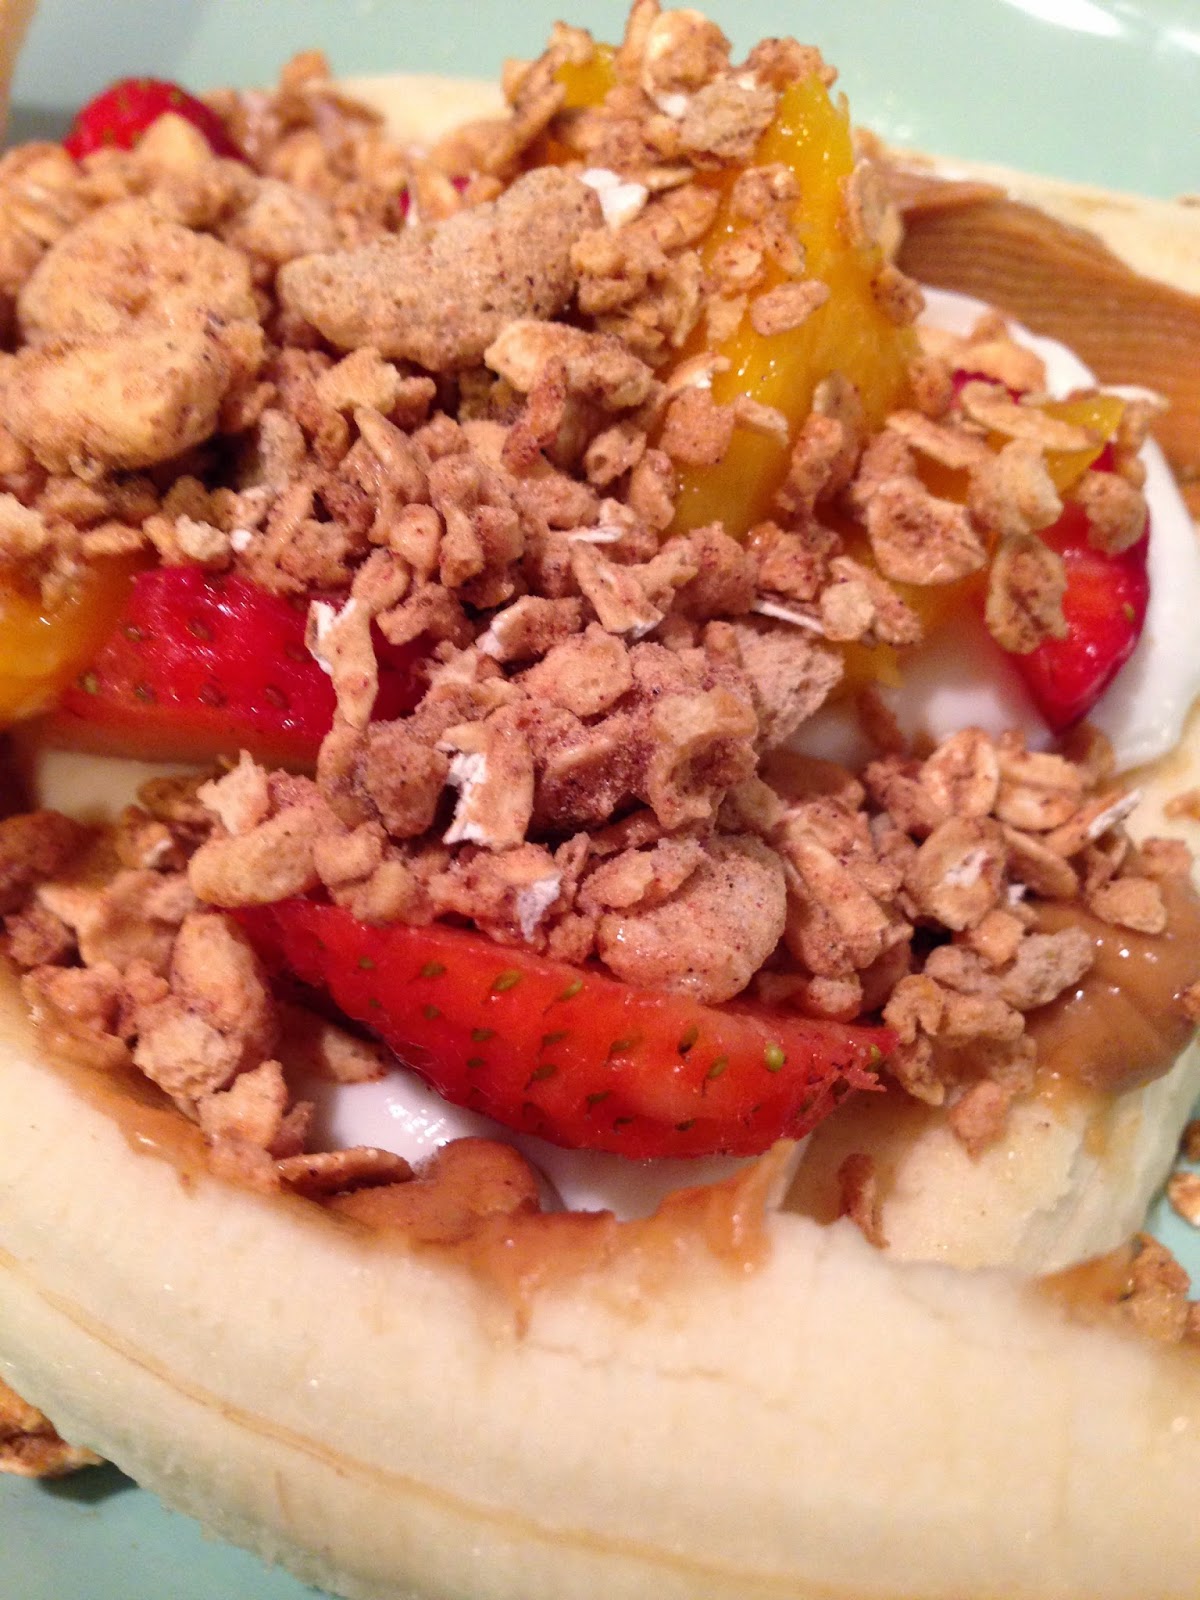
| Completed rogel |
Since I know you’re dying to hear, the dinner went great. And his family really seemed to enjoy it. Too bad his dog, Bucko, couldn’t join! Until next time, Happy Cooking!!
 |
| Bucko Buckmaster Flex, what a model |
(function(i,s,o,g,r,a,m){i[‘GoogleAnalyticsObject’]=r;i[r]=i[r]||function(){ (i[r].q=i[r].q||[]).push(arguments)},i[r].l=1*new Date();a=s.createElement(o), m=s.getElementsByTagName(o)[0];a.async=1;a.src=g;m.parentNode.insertBefore(a,m) })(window,document,’script’,’//www.google-analytics.com/analytics.js’,’ga’); ga(‘create’, ‘UA-51170769-1’, ‘perfectlyimperfectsmileguaranteed.blogspot.com’); ga(‘send’, ‘pageview’);


